Before collecting a farm water sample, write a brief for the laboratory
By HealthTrainX editorial team · Published October 18, 2026

A bottle of water without context leaves a laboratory with unanswered questions. Where did it come from? What will the water be used for? Which question should the test answer? Before collecting a farm sample, write a short brief and ask a qualified local laboratory to confirm the appropriate test and collection procedure.
Begin with source and intended use
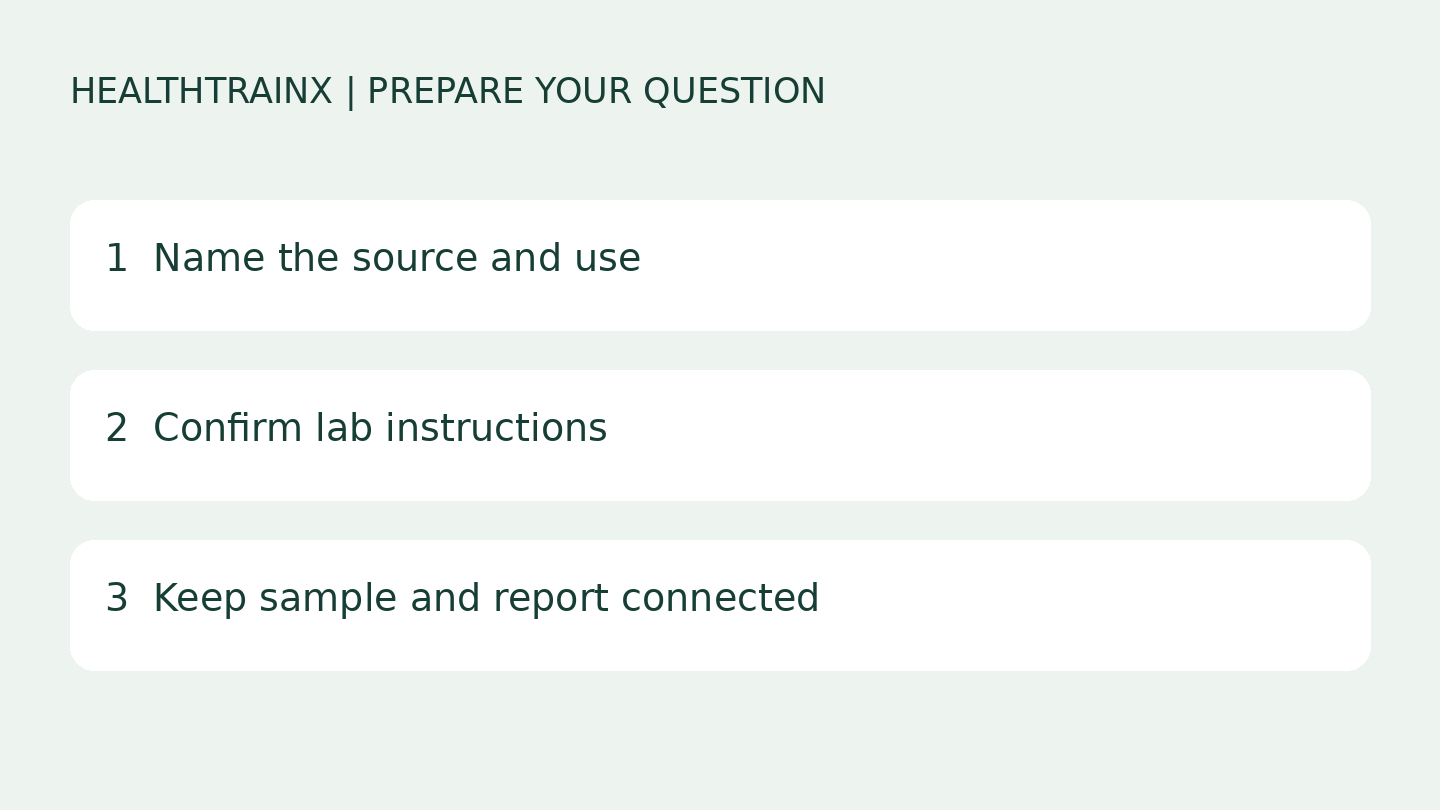
Create a simple source register: an identifier, the source type, the place it supplies and its intended use. Keep irrigation, produce washing, drinking and other uses distinct. A result obtained for one question should not automatically be treated as an answer to another. If the system blends sources, tell the laboratory rather than describing only the source nearest the sampling point.
Let the laboratory define the collection method
University of Minnesota Extension advises contacting the laboratory ahead of collection, using its supplied containers, following its directions and meeting the stated holding time. This is useful preparation guidance. Its page was reviewed in 2018 and contains Minnesota/US context; this article does not adopt its legal thresholds or testing frequency as current rules for South African farms.
Ask the local laboratory to confirm the sampling location, container, handling, delivery deadline, requested analysis, units and interpretation support. Record the answers before you collect. If a direction is unclear, ask again. Do not improvise a container or preservation method from a photograph in an online article.
Use an original one-page handoff
Our preparation worksheet has five fields: source ID; intended use; exact sample point; laboratory instructions and contact; collection and delivery record. After collection, add the sample identifier, date and time, collector and any handling issue. Keep the laboratory report beside this record. These fields organize evidence; they do not certify that a sample was collected correctly.
For a fictional example, a grower labels two supply points W1 and W2. W1 supplies irrigation and W2 supplies the wash area. The grower sends the register to the laboratory before sampling and asks whether the two purposes require different analyses or procedures. The example illustrates a clearer question, not a claim that either source is safe or unsafe.
Keep interpretation and action distinct
When the report arrives, check that its identifier matches your record and ask about any limitation or handling concern. Have a qualified adviser interpret the result for the intended use and applicable local requirements. A single result does not describe every source, season or future condition, and this worksheet does not set treatment instructions.
Prepare the brief, then contact your local laboratory. Related: the crop-photo checklist helps organize another type of field evidence; consulting preparation and the resource hub help structure your next question.
Source and scope
University of Minnesota Extension: Testing well water for fruit and vegetable production (reviewed 2018; checked October 18, 2026). Ask your qualified local laboratory and relevant authority about current requirements for your location and intended use. This article is preparation guidance, not a water-safety certification, legal assessment or treatment recommendation.